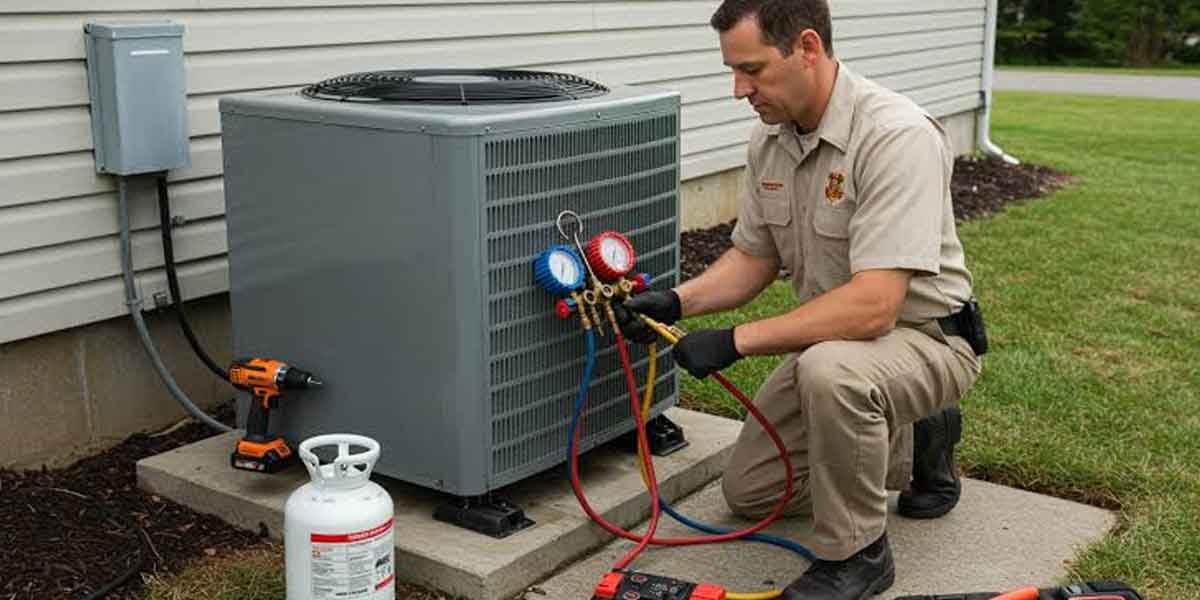
The air conditioning installation process explained in practical terms runs a seven-step workflow: site evaluation and sizing, permits, removal of the old equipment, placement of the new indoor and outdoor units, ductwork connections, electrical wiring, and a final testing and startup pass. The job spans a day to a few days depending on the home, and the refrigerant, gas, and high-voltage electrical work sits in licensed-professional territory under EPA and local code rules. This walkthrough covers a split-system central air conditioner or heat pump in the United States. Window units, car AC, and DIY handling of refrigerant or high-voltage wiring stay out of scope, behind the safety line. If you are about to sign an installation contract, the checkpoints below give you something to verify at every stage.
Installation is a process you can check, not a black box. Permits before work, refrigerant recovered under EPA rules, a line set brazed and evacuated, and a temperature split confirmed at startup are the milestones that separate a real install from a rushed one. Each milestone has a visible sign, and each one is worth asking about before the crew leaves.
Air Conditioning Installation: The Seven Steps at a Glance
A professional installation moves through seven stages in order: sizing and site evaluation, permits, old-unit removal, new-unit placement, ductwork, electrical, and startup testing. Each stage has a checkpoint, and skipping one shows up later as poor cooling, a tripped breaker, or a failed inspection.
| Step | What happens | Checkpoint to verify |
|---|---|---|
| 1. Site evaluation and sizing | Crew measures the home, checks ductwork and electrical capacity, and calculates the right size | A written load calculation, not a guess based on square footage alone |
| 2. Permits | Licensed contractor pulls mechanical, electrical, and gas permits | Permit numbers on paper before any work starts |
| 3. Old-unit removal | Power and gas shut off, refrigerant recovered under EPA rules, old equipment removed | Refrigerant recovered, never vented; disposal confirmed |
| 4. New-unit placement | Indoor coil and outdoor condenser positioned with correct clearances | Clearances match the manual; airflow path unobstructed |
| 5. Ductwork connections | New unit tied to the existing ducts; connections sealed | Seals tight, no crushed or sagging ducts |
| 6. Electrical wiring | High- and low-voltage wiring, grounding, and breaker sizing done by a licensed electrician | Correct breaker size, solid grounding, no exposed splices |
| 7. Testing and startup | Refrigerant charged to spec, system evacuated, temperature split and airflow measured | Temperature split in range, clean cycling, no leaks |
The steps rarely change order, because each one builds on the one before it. Sizing protects everything downstream: a unit that is too big short-cycles and never removes humidity, and one that is too small runs constantly and never catches up. Carrier’s own installation guide calls improper sizing the number one problem in installations across the country, which is why step one is a calculation, not an estimate.
Before the Crew Arrives: Prerequisites
Three things must be true before installation day: the size is calculated and agreed, the permits are pulled, and the home is prepped for access. Homeowners control the third item, and it makes the difference between a clean day and a slow one.
The how to prepare for air conditioning installation guide covers the homeowner side in detail, but the short version is clear paths to both units, pets secured, the electrical panel accessible, and parking for the crew. Permits are the contractor’s responsibility, and they are not optional: local code requires mechanical and electrical permits, and skipping them can surface as fines or a resale problem later. Sizing is the call that comes before any of this. A load calculation accounts for square footage, insulation, window orientation, and local climate, and the contractor should put the result in writing. If the proposal sizes the unit off the old one or the house size alone, that is the moment to ask for the calculation before signing.
Materials and Tools the Job Uses
The physical install uses a line set of two copper lines, a filter dryer, a condensate line, wiring, a disconnect, and refrigerant, and the crew brings manifold gauges, a vacuum pump, and torque wrenches. The materials list is short; the skill is in how they go together.
| Material or tool | What it does | Why it matters |
|---|---|---|
| Line set (copper suction and liquid lines) | Carries refrigerant between the indoor coil and outdoor condenser | Must be sized and brazed correctly; a poor joint leaks or starves the unit |
| Filter dryer | Traps moisture and debris in the sealed circuit | Installed on every new line set; skipping it invites contamination |
| Condensate line and drain pan | Carries moisture from the indoor coil outside | A blocked line floods the air handler and damages ceilings |
| High- and low-voltage wiring plus disconnect | Powers the units and provides a safe shutoff | Wrong breaker or gauge trips breakers or starts fires |
| Refrigerant | The working fluid of the cooling cycle | Charged to spec; handled only by EPA-certified technicians |
| Manifold gauges and vacuum pump | Measure pressure and pull the line set down before charging | Evacuation removes moisture; skipping it causes acid in the sealed circuit |
| Torque wrench | Tightens refrigerant fittings to spec | Over-tightening cracks fittings; under-tightening leaks |
The air conditioning installation materials and options page goes deeper on choosing between equipment and material options. On the day itself, the presence of a vacuum pump on the truck is a good sign: it means the crew evacuates the line set, which is the step that separates a sealed, dry circuit from a contaminated one.
Checkpoints and Acceptance Criteria
A finished installation is not a running unit; it is a unit that passes measurable checks. The acceptance criteria are the temperature split, airflow, a leak-free sealed circuit, clear condensate drainage, correct breaker sizing, and clean cycling, and each one is observable at the end of the job.
The temperature split is the headline number. With the equipment running, the air returning to the indoor unit and the air leaving the supply register should differ by a range typical for the equipment, usually 15 to 20 degrees Fahrenheit. A split outside that range means airflow, charge, or sizing is off, and it is worth asking the crew to show you the reading before they leave.
The rest of the list is quick to check. Condensate should drip freely from the drain line with no water pooling in the pan, the breaker should match the nameplate, the unit should start and stop cleanly without short-cycling, and a leak check on the sealed circuit should come back clean. Testing also covers the safety controls, and the whole startup pass belongs to the same workflow that a repair uses, which the ac repair description guide explains for the repair side of the ledger. If anything fails the acceptance list, the fix follows the same timeline rules as a repair, covered in the how long does ac repair take guide.
Common Failure Points and the DIY Line
The common failure points in an install are improper sizing, rushed evacuation, leaks at brazed joints, condensate problems, and electrical mistakes, and every one of them sits behind the professional line. The homeowner side of the job is preparation and verification, not refrigerant or wiring.
| Stage | What commonly goes wrong | Who handles it |
|---|---|---|
| Sizing | Unit matched to the old one or to square footage instead of a load calculation | Professional (calculation in writing) |
| Line set and evacuation | Braze leaks, skipped vacuum, moisture left in the circuit | Professional (EPA-certified for refrigerant) |
| Condensate | Blocked or poorly sloped drain line floods the air handler | Professional, but the homeowner can verify drainage after startup |
| Electrical | Wrong breaker, loose connections, missing grounding | Licensed electrician only |
| Refrigerant | Vented to atmosphere or charged without recovery | EPA-certified technician only |
Refrigerant and high-voltage work are never homeowner tasks, and the EPA prohibition on venting refrigerant is federal law, not a preference. The EPA’s rule on refrigerant venting is the authority here. A homeowner who clears the space, secures pets, and verifies the checkpoints at the end gets the full benefit of the process without touching the licensed work.
Ductwork and airflow connect installation to the air you breathe, which is why the how hvac affects indoor air quality guide matters once the equipment is in. A sealed, correctly sized system moves the right amount of air; a leaky or undersized one changes both comfort and indoor conditions. The ductwork pass is also where crushed or sagging sections show up, so it is worth walking the visible runs after the crew finishes.
Air Conditioning Installation Process Explained FAQ
What is the $5,000 AC rule?
The $5,000 rule multiplies the age of the equipment by the estimated repair cost, and if the figure passes $5,000, replacement tends to make more sense than another repair. It is a guideline for the repair-versus-replace decision that leads to an installation.
What are common AC installation mistakes?
The most common mistakes are improper sizing, skipping the vacuum on the line set, leaks at brazed joints, and electrical errors like the wrong breaker. Each one shows up later as poor cooling, a tripped breaker, or a failed inspection.
What is the 3 minute rule for air conditioners?
The 3 minute rule says to wait about three minutes after turning an air conditioner off before turning it back on, letting the refrigerant pressures balance and protecting the compressor. It applies after installation testing and to everyday use.
What are the steps involved in installing an air conditioner?
The steps are site evaluation and sizing, permits, old-unit removal, new-unit placement, ductwork connections, electrical wiring, and testing and startup. Most jobs take a day to a few days, and each step has a checkpoint the homeowner can verify. Home improvement projects run on the same discipline: know the scope before you sign. More guides live under the Home Improvement guides hub.
Check the size in writing, watch for the vacuum pump, and verify the temperature split before the crew leaves. That is the air conditioning installation process explained in one sentence, and an installation you can verify is an installation that cools for the life of the unit.