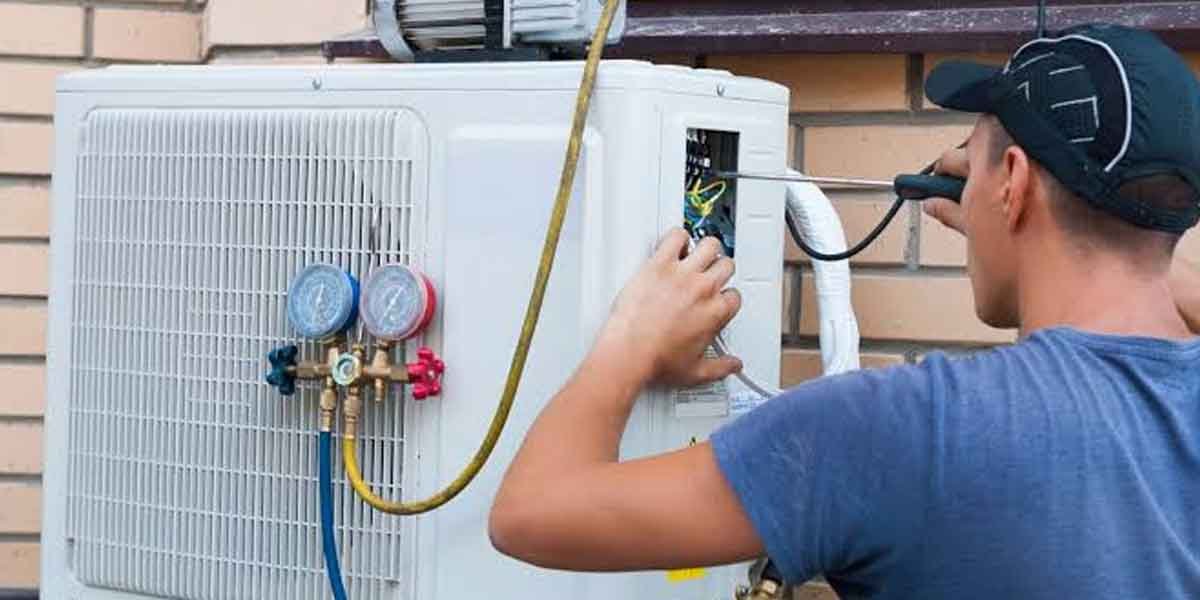
Preparing for an AC installation comes down to five tasks: confirm the sizing and paperwork before the date, clear a path to the indoor unit and the outdoor condenser, make the electrical panel accessible, protect the interior along the work route, and secure pets plus parking for the crew. The homeowner side is access and verification; the refrigerant, gas, and high-voltage work stays with licensed professionals.
This checklist fits a central split-system installation in the United States, and most of it applies to a ductless mini-split or a replacement install as well. Choosing the equipment stays out of scope here, handled by the installation materials guide, and so does the step-by-step install workflow, which has its own guide. If your installation date is set, the two tables below are the runbook.
The homeowner’s half of the project is access and verification. Ten minutes of clearing before the date saves an hour of crew time and keeps the day on schedule.
The Preparation Checklist, Start to Finish
Preparation splits into three windows: before the date, the day before, and the day of. Each window has specific actions, and the list below puts them in order so nothing falls through between the signed quote and the startup test.
| Window | Action | Why it matters |
|---|---|---|
| Before the date | Confirm the sizing calculation, permits, and the signed quote | A wrong size or a missing permit surfaces mid-install and stops the job |
| Before the date | Ask what the crew will access and where the units go | You find out about access needs before the truck arrives |
| Day before | Clear 2-3 feet around the indoor unit and the outdoor condenser | Open access is the fastest way to keep the install on schedule |
| Day before | Make the electrical panel accessible and label the breaker | The crew needs the panel for the new circuit work |
| Day before | Secure pets, arrange parking, and protect the interior route | Pets and blocked paths are the familiar morning-of delays |
| Day of | Walk the route, confirm the crew, and verify the startup test | Done means the temperature split and safety checks pass, not just the unit running |
Two rules keep the checklist honest. First, the before-the-date window is the one most people skip, because the installer does the sizing and permits, and the homeowner assumes it is handled. It usually is, but confirming it in writing is a two-minute check that prevents a mid-job surprise. Second, the day-of window is where the air conditioning installation process explained guide earns its keep, because it tells you what the final test should include.
Confirm Sizing and Paperwork Before the Date
Three documents should be settled before the crew arrives: the load calculation that sizes the equipment, the permits pulled by the contractor, and the signed quote with the scope. Each one is a five-minute confirmation, and each one prevents a stop on the day.
The load calculation is the most important number in the project. It accounts for square footage, insulation, window orientation, and local climate, and the result should be in writing. If the equipment was sized off the old unit or the house size alone, that is the moment to raise it, because an undersized or oversized unit shows up as poor cooling for the life of the install. The air conditioning installation materials and options guide covers the sizing and equipment choices in depth.
Permits are the contractor’s responsibility and a legal requirement in most jurisdictions. Confirming the permit numbers exist before the date means the inspection is already on the books, and it protects you from a resale surprise later. The signed quote should name the equipment, the materials, and the labor split, so the day-of work matches what you approved.
Clear the Work Areas
The work areas are the indoor unit location, the outdoor condenser, and the paths between them, and each needs about 2-3 feet of clear space. Furniture, stored boxes, plants, and debris all count as obstacles.
Start indoors: the air handler or coil cabinet needs room for the crew to work and the condensate line needs a clear route. Move furniture away from the unit, and clear the space beneath and beside it. Outdoors, the condenser needs the same clear zone, and the path from the gate to the unit should be wide enough for tools and the old-unit removal. A locked gate is the familiar hidden blocker, so unlock it and mention it in the booking notes. Carrier’s installation guide lists the same homeowner prep: clear paths and secure pets before the technician arrives.
The line set route matters too. If the copper lines will run through a wall or along an exterior path, clear that route of obstacles as well. None of this is skilled work; it is the ten minutes that keeps the crew working instead of waiting.
Electrical, Pets, Parking, and Interior Protection
The logistics checklist is four items: electrical panel access, pets secured, parking for the crew, and the interior route protected. Each is quick, and each prevents a real delay.
The electrical panel should be easy to reach, with the main breaker labeled and the space in front of it clear. The crew needs it for the new circuit, and a buried panel costs time. Pets should be secured in a room or outside for the day, because an open door and an excited dog are a safety problem for everyone. Parking should be close enough for the crew to carry tools without a long haul, which is worth asking about in advance if your driveway is tight.
Interior protection is the one that surprises people. The crew will carry equipment through your house, so lay down drop cloths or cardboard along the route from the door to the air handler, and move anything fragile or valuable out of the way. The same route is used for the old-unit removal, which means it gets walked twice.
What to Verify on Installation Day
On the day, the homeowner verifies four things: the crew matches the booking, the route is walked and protected, the startup test includes the temperature split, and the checkpoints pass before the crew leaves. Done is a tested result, not a running unit.
| Check | What to look for |
|---|---|
| Temperature split | Return air vs supply air in the expected range |
| Cycling | Starts and stops cleanly, no short-cycling |
| Condensate | Drains freely, no water pooling in the pan |
| Sealed circuit | Leak check comes back clean |
| Electrical | Breaker size matches the nameplate |
The startup test is the measurable moment. The temperature split should land in the expected range, the unit should start and stop cleanly without short-cycling, the condensate should drain freely, and a leak check on the sealed circuit should come back clean. The ac repair description guide explains the same testing logic for the repair side, and the how long does ac repair take guide sets the timeline expectation if anything fails.
Preparation FAQ
What are common AC installation mistakes?
The most common mistakes are improper sizing, skipped line-set evacuation, leaks at brazed joints, and electrical errors like the wrong breaker. Homeowner-side mistakes are the locked gate, the buried panel, and the unsecured pet that cost the crew time on the day.
How long does a full HVAC install take?
A typical central AC install takes one to two days, with most homes finishing in a single day when the access is clear and no ductwork surprises appear. Ductless mini-splits often finish faster, and jobs that need new ducts or electrical upgrades run longer.
What is the $5,000 rule for AC?
The $5,000 rule multiplies the age of the equipment by the estimated repair cost, and if the figure passes $5,000, replacement tends to make more sense than another repair. It is the arithmetic behind choosing installation over continued repairs.
What is the 3 minute rule for air conditioners?
The 3 minute rule says to wait about three minutes after turning an air conditioner off before turning it back on, letting the refrigerant pressures balance and protecting the compressor. It applies after installation and in everyday use.
Home improvement projects run on the same discipline: know the scope before you sign. More guides live under the Home Improvement guides hub.
Clear the path, confirm the paperwork, and verify the test at the end. That is how to prepare for air conditioning installation in one sentence, and it is the difference between a smooth day and a reschedule.