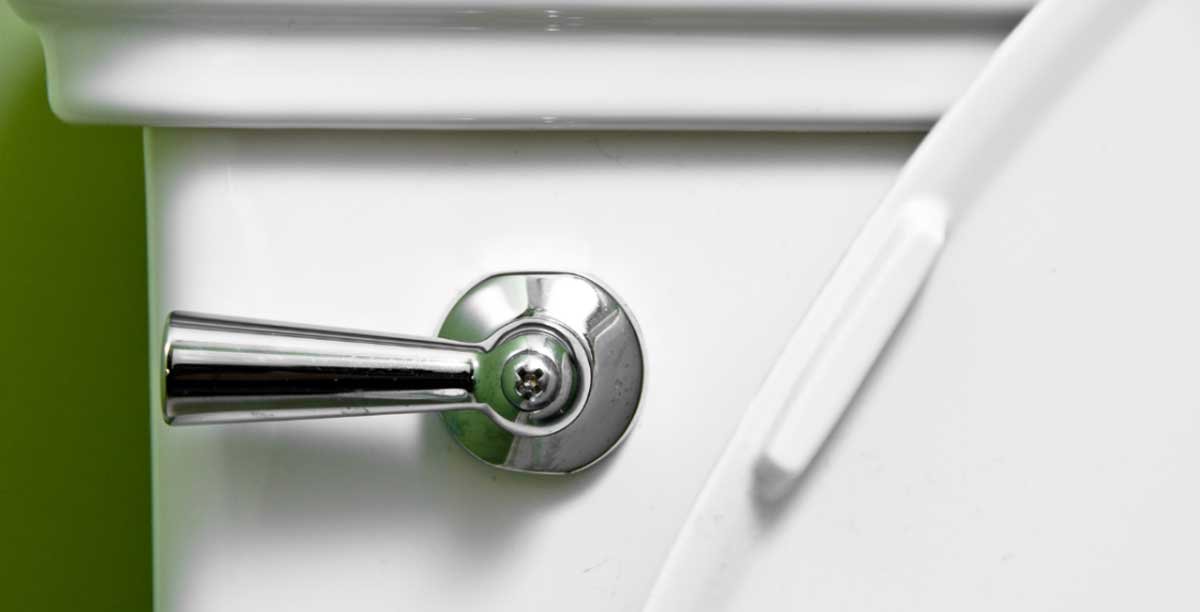
To replace a toilet handle, remove the tank lid, unhook the chain, loosen the reverse-thread mounting nut, install a compatible new trip lever, then reconnect the chain and test the flush. On most toilets, the hardest part is not the swap itself, notes KRS Charlottesville experts. It is choosing a handle that actually matches the tank.
A broken handle can make the whole toilet feel more serious than it is. Most of the time, this is a small repair that takes 10 to 20 minutes if the mounting style and chain length are right.
If you are looking up how to replace a toilet handle because the old one snapped, sticks, or no longer lifts the flapper cleanly, the safe approach is simple: match the replacement first, remember the nut usually loosens in the opposite direction, and do not force anything against porcelain.
| What you need to know first | Short answer |
|---|---|
| What is the part called? | The full part is usually called a toilet trip lever or tank lever, not just the exterior handle. |
| Do you need to turn the water off? | Not always for a simple handle swap, but shutting it off and flushing once gives you a calmer tank to work in. |
| What causes the most trouble? | Buying the wrong mount style or tightening the nut the wrong way. |
| How long does it take? | Usually 10 to 20 minutes when the replacement fits and the nut comes off cleanly. |
Make sure the new handle actually fits
If you are standing in the hardware aisle with two handles that look almost identical, this is the decision that saves the second trip. The first step is matching the replacement handle to the toilet’s mounting position and lever style.
A handle that looks close enough on the shelf can still fail if the tank uses a front mount, side mount, angle mount, or a lever arm that collides with the flapper or tank wall.
American Home Shield’s July 2024 guide says the part you are replacing is the toilet trip lever, which includes the outside handle and the arm inside the tank. AHS also recommends checking whether the handle mounts from the front, side, or at an angle before buying the replacement.
Fluidmaster describes its premium replacement levers as universal models with an adjustable arm and multi-angle mount designed to fit most front, side, angle, or corner tank positions. That is useful shorthand for shopping: some levers are brand-specific, while others are built to adapt.
| Mounting style | What to check | Why it matters |
|---|---|---|
| Front mount | Handle comes straight through the front face of the tank. | A side-mount lever can sit at the wrong angle and pull the chain badly. |
| Side mount | Handle enters from the left or right side wall of the tank. | The arm direction and clearance become more important. |
| Angle or corner mount | Handle sits at an angled section rather than a flat front. | Universal or adjustable levers are often safer here. |
| Brand-specific setup | Tank shape or lever geometry looks unusual. | Using the old part as a shopping reference can save a second trip. |
If the toilet is tucked tightly against a wall or vanity, measure clearance before you buy. A handle that technically fits the tank can still be annoying if it has no room to swing.
The pressure point here is compatibility, not wrench work. Most failed toilet-handle swaps go wrong before the package is even opened.
Tools and prep before you touch the nut
You only need a few basics for this repair: a towel, adjustable wrench, and enough light to see the chain and lever arm clearly. The towel matters more than it sounds because a tank lid set directly on tile is one bad slip away from turning a cheap fix into a much uglier Saturday.
AHS recommends setting the porcelain lid on a towel after removal because porcelain breaks easily. That small precaution is worth taking seriously. Tank lids are heavier and more fragile than they look when you are leaning over them.
- Place a towel on the floor or counter for the tank lid.
- Wash or dry your hands so the old nut does not slip while you are inside the tank.
- Optional but helpful: turn off the shutoff valve and flush once to lower the water level.
- Take one quick photo of the chain position before disconnecting anything.
That photo saves more time than most tutorials admit. It is surprisingly easy to forget which hole the chain used once the old lever is in your hand.
Taking the old handle out safely
Once the lid is off and your hand is inside the tank, the job gets very literal very quickly. Remove the old handle by lifting off the tank lid, unhooking the chain, and loosening the mounting nut from inside the tank.
The make-or-break detail is thread direction: on most toilets, the retaining nut is reverse-threaded, so it loosens clockwise instead of counterclockwise.
American Home Shield says most toilet handle nuts use left-handed threads, which means turning the nut to the right loosens it. That one detail prevents the most common beginner mistake, which is muscling the nut the wrong way and stressing the tank wall.
- Lift the tank lid and place it on the towel.
- Find the chain clipped to the lever arm and note which hole it uses.
- Disconnect the chain from the lever arm.
- Hold the handle steady from the outside if needed.
- Use the wrench on the inside nut and turn it clockwise to loosen on most toilets.
- Slide the old handle and arm out through the tank opening.
If the nut feels fused in place, stop trying to win the argument with torque. A penetrating lubricant and a few patient minutes are much cheaper than a cracked porcelain tank.
When the old handle will not come free
If rust, mineral buildup, or corrosion has frozen the nut, apply penetrating oil carefully and wait a few minutes before trying again. Gentle pressure beats brute force here because the part you are pushing against is ceramic, not steel pipe.
Install the new handle and set the chain correctly
This is the point where a repair that looked finished can still turn into a mystery flush problem. Install the new handle by sliding the lever arm through the tank hole, seating the washer, threading the nut back on, and reconnecting the chain with a little slack.
The goal is a handle that moves freely and lifts the flapper fully without leaving the chain tight all the time.
AHS recommends reattaching the chain to the same hole used on the old lever arm, then adjusting from there if the flush is weak or the flapper does not seal. That is a practical starting point because many replacement levers include multiple holes or an adjustable arm.
| Chain result | What you will notice | What to do |
|---|---|---|
| Too tight | Flapper may not seal fully and the toilet can keep running. | Move the clip to give the chain a little more slack. |
| Too loose | Handle moves but the flapper barely lifts or drops too quickly. | Shorten the chain by one link or use a different lever hole. |
| Arm hits the tank wall | Handle binds or does not return cleanly. | Adjust or trim only if the lever instructions allow it, or switch to a more compatible replacement. |
The handle should feel easy, not vague. A good install has a little play in the chain and a flush that opens the flapper fully without making the lever feel like it is dragging furniture.
The risk shifts here from removal damage to adjustment errors. A handle that technically moves is not the same thing as a handle that flushes well.
Test the flush before you put the lid back on
Test the new handle with the tank open before you put the lid back on because the first few flushes tell you whether the chain length and arm position are actually right. This is the part that turns a five-minute repair into either a finished job or an immediate callback to yourself.
Flush the toilet several times and watch three things: whether the handle returns normally, whether the flapper lifts high enough to give a complete flush, and whether it drops back into place without leaking. AHS notes that a chain that is too short can keep the valve from closing, while a chain that is too long can stop the toilet from flushing fully.
- Handle stays down: the nut may be overtightened, the arm may be rubbing, or the replacement geometry may be wrong.
- Toilet keeps running: the chain is probably too tight or twisted.
- Weak flush: the chain may be too loose or clipped to the wrong hole.
- No movement at the flapper: the chain may be disconnected or the arm is not pulling in the right direction.
This is where a lot of people realize the original handle was not the only problem. Sometimes the handle was the obvious casualty, but the chain or flapper setup was already halfway to failure.
Common mistakes that make the job harder
Most people do not get stuck because the repair is advanced. They get stuck because a tiny part like this punishes impatience fast. The most common mistakes are buying a lever that does not match the tank, forcing the reverse-thread nut the wrong way, and setting the chain with either zero slack or far too much.
None of those mistakes are complicated, which is exactly why they catch people off guard.
| Mistake | What happens | Better move |
|---|---|---|
| Buying by finish only | The new handle looks right but mounts wrong or pulls at a bad angle. | Match mount position and lever style before color or finish. |
| Turning the nut the usual way | The nut tightens, sticks harder, or stresses the tank wall. | Remember most toilet-handle nuts loosen clockwise. |
| Overtightening the new nut | The handle binds or the tank risks cracking. | Snug is enough. Porcelain does not need a victory lap. |
| Skipping the test flush | The lid goes back on before you notice the chain is wrong. | Test several flushes with the tank open first. |
A toilet handle replacement is easy right up until impatience shows up. Then even a tiny repair starts collecting second trips to the hardware store.
When a handle swap is not the real fix
If you finish the swap and the toilet still behaves badly, the handle may have been the loud symptom instead of the real fault. If the new handle works but the toilet still runs, flushes weakly, or sticks, the real issue may be the chain, flapper, or another tank component rather than the handle itself.
Replacing the lever solves the control point, not every failure inside the tank.
Use that distinction to avoid misdiagnosing the problem. A stiff or broken handle justifies replacement, but a toilet that keeps ghost flushing or struggles to empty may need flapper or fill-valve attention next. If the symptom is ongoing water movement rather than a broken lever, start with How to Fix a Running Toilet: The Complete Step-by-Step Guide.
- Replace the handle if it is visibly broken, corroded, loose at the mount, or no longer lifts the chain properly.
- Inspect the flapper if the toilet keeps running after the handle is replaced.
- Inspect the chain if it tangles, drags, or slips off the lever repeatedly.
- Call a plumber if the tank is cracked, the shutoff valve fails, or the internal hardware is badly seized.
If your repair list is growing beyond the tank lever, a toilet base issue is a different project entirely. For that job, see How to Replace a Toilet Flange: A Step-by-Step DIY Guide.
Toilet handle replacement FAQ
Do you need to turn off the water to replace a toilet handle?
No, not always, because the repair stays inside the tank and does not disconnect the supply line. Still, turning off the shutoff valve and flushing once can make the job cleaner and easier to see.
Which way do you turn the toilet handle nut to remove it?
On most toilets, you turn the nut clockwise to loosen it because the retaining nut usually has left-handed threads. That reverse thread is the detail most likely to trip people up.
What if the new handle does not fit?
If the new handle does not fit, the mounting position or arm geometry is probably wrong for that tank. Compare the old part to a universal adjustable lever or look up a model-specific replacement.
Is how to replace a toilet handle a beginner repair?
Yes, how to replace a toilet handle is usually a beginner-friendly repair because it involves basic hand tools and no supply-line work. The job gets tricky only when the replacement handle does not match the tank or the reverse-thread nut is forced the wrong way.
How much slack should the chain have?
The chain should have a little slack when the handle is at rest, but not so much that the lever barely lifts the flapper. Too tight keeps the flapper from sealing; too loose weakens the flush.
Can you replace just the handle and not the whole toilet?
Yes, a toilet handle is a separate repair part and does not require replacing the entire toilet. In most cases, it is one of the simpler tank repairs a homeowner can do.
The whole job is small once the right replacement is in your hand. That is the real pattern behind how to replace a toilet handle: most trouble starts before the wrench moves, when the wrong lever gets bought or the reverse-thread nut is treated like an ordinary one.