Replacing a ceiling light fixture with a ceiling fan is one of the most satisfying electrical projects a homeowner can do. The wiring is already in the ceiling. The switch is already on the wall. The circuit already has power. The project takes two to three hours, and the only structural question is whether the existing ceiling box is strong enough to hold a fan.
If the box is fan-rated, the job is a straightforward swap. If the box is not fan-rated, you must replace it with one that is, which adds an hour and requires access to the attic or the use of an expanding brace kit. Here is how to determine what you have, what you need, and how to install the fan safely.
Step One: Determine If the Existing Box Is Fan-Rated
Turn off the power at the breaker. Remove the existing light fixture. Look at the ceiling box. A fan-rated box is labeled as such on a sticker inside the box or stamped into the metal. The label says acceptable for fan support or lists a weight rating in pounds. The box is also physically different from a standard light fixture box. A fan-rated box is made of heavy-gauge metal, is deeper than a standard box, and is attached to the framing with screws or lag bolts, not nails. A standard light fixture box is shallow, lightweight, and typically nailed to the side of a joist.
If the box is fan-rated and the label lists a weight rating equal to or greater than the weight of your new fan, which is printed on the fan box, you can proceed. The existing box will support the fan. If the box is not fan-rated, or if the weight rating is lower than your fan weight, you must replace the box before installing the fan. Do not install a ceiling fan on a standard light fixture box. The fan’s weight and vibration will eventually pull the box out of the ceiling, and the fan will fall.
Step Two: Replace the Box If It Is Not Fan-Rated
If you have attic access above the ceiling, replacing the box is straightforward. Go into the attic and locate the box from above. Remove the nails or screws holding the old box to the joist. Remove the box and disconnect the wiring. Install a fan-rated box that spans between two joists or attaches directly to a joist with lag bolts. The box must be rated for the weight of your fan. Reconnect the wiring inside the new box. The new box is now ready for the fan.
If you do not have attic access, use an expanding brace kit. An expanding brace is a metal bar that expands to grip the ceiling joists from inside the room. You remove the old box through the ceiling hole, insert the expanding brace into the hole, turn the bar to expand it until it grips the joists on both sides, and then attach a fan-rated box to the brace. The brace kit costs $20 to $30 and includes the brace and the box. It is designed specifically for retrofitting a fan-rated box where attic access is not available.
The wiring connections in the new box must match the original wiring configuration. Take a photo of the wiring before disconnecting the old box so you can replicate it. The hot wire is typically black, neutral is white, and ground is bare or green. If the old fixture was controlled by a single wall switch, the switch controls a single black wire at the ceiling. If the old fixture had a light and a fan controlled by separate switches, there are two black or red wires at the ceiling, one for the light and one for the fan. The wiring determines how you connect the fan. A fan with a remote control only needs one power source. A fan controlled by wall switches needs separate power for the fan motor and the light.
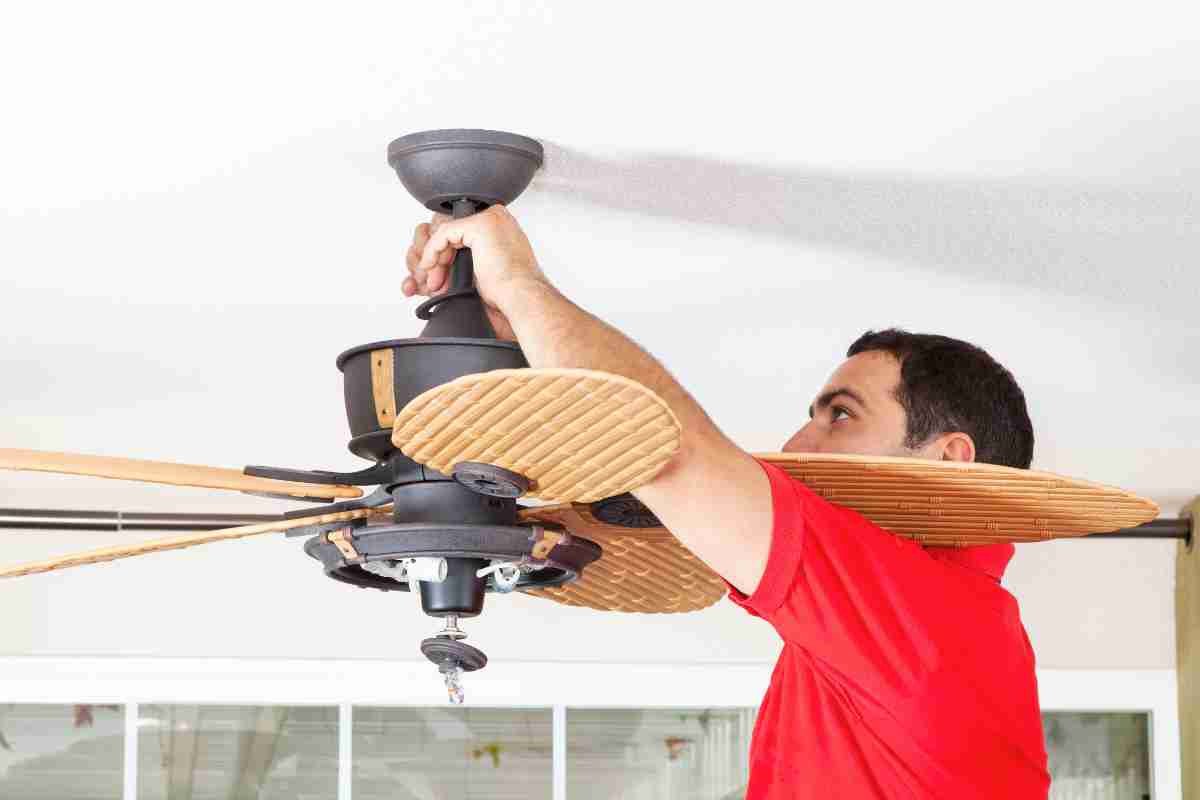
Step Three: Assemble the Fan Components
Assemble as much of the fan as practical on the floor. Install the mounting bracket on the ceiling box. Hang the fan motor from the bracket using the hook or the temporary cable provided with the fan. Most fans have a hook on the mounting bracket that supports the motor housing while you connect the wiring. This is the most helpful feature of modern ceiling fans. The motor hangs securely, leaving both hands free to make the wire connections.
Connect the wiring at the ceiling. Black to black or to the fan motor wire and the light wire if they are separate. White to white. Ground to ground. If the fan has separate wires for the motor and the light, typically black for the motor and blue for the light, and your ceiling has only one black hot wire, connect both the motor wire and the light wire to the single hot wire. The wall switch will control both the fan and the light together. Use the pull chains on the fan to control the fan and light independently. If your ceiling has two hot wires, typically black and red, connect one to the fan motor wire and the other to the light wire. The wall switches control the fan and light separately.
Use wire nuts sized for the number of wires. Twist the wires together with pliers before screwing on the wire nut. Tuck the wires neatly into the ceiling box.
Step Four: Mount the Fan and Attach the Blades
Lift the fan motor from the temporary hook and attach it to the mounting bracket according to the manufacturer’s instructions. Most fans use a ball-and-socket mount. The ball on the downrod sits in a socket on the mounting bracket. The fan hangs from the socket and can pivot slightly to self-level. Secure the fan to the bracket with the locking screws or the cotter pin provided.
Attach the fan blades to the blade brackets, then attach the brackets to the motor. Tighten the blade screws evenly. Loose blades cause wobble. A fan with a wobble that is noticeable at low speed is usually a blade that is not securely attached or a blade bracket that is slightly bent. Balance the fan with the balancing kit included in the fan box if the wobble persists after tightening all screws.
Attach the fan canopy to the ceiling to cover the mounting bracket and the wiring. Install the light kit if the fan includes one. Install the bulbs. LED bulbs are preferred because they produce less heat than incandescent bulbs. Heat rises into the fan motor. A fan with LED bulbs runs cooler and lasts longer.
Adding a Remote Control to an Existing Fan Installation
If you want to control the fan speed and light from a remote control instead of the wall switch, and the fan did not come with a remote, install a universal ceiling fan remote control kit. The kit includes a receiver that installs inside the fan canopy and a handheld remote. The receiver connects between the ceiling wiring and the fan wiring. The ceiling hot wire connects to the receiver input. The receiver output wires connect to the fan motor and the light. The wall switch must remain in the on position at all times for the remote to work. The remote controls all fan functions. A universal remote kit costs $25 to $40 and takes 20 minutes to install inside an existing fan canopy.
Frequently Asked Questions
My ceiling box has no ground wire. Is that safe?
If the box is metal and is grounded through the conduit or armored cable, you can attach the fan ground wire to the ground screw on the box. If the box is plastic and there is no ground wire, the circuit was installed before grounding was required, which means the house was built before the mid-1960s. A fan installed on an ungrounded circuit will operate normally. The ground wire is a safety feature that protects against shock if a hot wire contacts the metal fan housing. Without a ground, the fan is less safe than a grounded installation. An electrician can add a ground wire if one is accessible, or install a GFCI breaker on the circuit, which provides shock protection without a ground wire.
My new fan squeaks or hums. How do I fix it?
A squeak is mechanical. Check that the blade screws are tight, the blade brackets are not bent, the canopy is not rubbing against the ceiling, and the light kit glass is not vibrating against the metal housing. Tighten every screw you can access. A hum is electrical. The fan motor or the dimmer switch is the cause. If the fan is controlled by a dimmer switch designed for lights, replace the dimmer with a standard switch or a fan speed control. Dimmer switches cause fan motors to hum and can damage the motor. If the fan hums on a standard switch, the motor itself is the cause. Some fans are louder than others. A slight hum is normal. A loud hum that is audible across the room is a defect.
Can I install a ceiling fan on a two-story ceiling?
Yes, with a longer downrod. The fan blades must be at least 7 feet above the floor for safety. On a two-story ceiling, the standard downrod included with the fan is not long enough. You must purchase an extended downrod from the fan manufacturer. The downrod length is calculated so the fan hangs at the correct height. A ceiling that is 16 feet high requires a downrod of approximately 6 to 8 feet. The downrod must be rated for the fan and must include the wiring harness extension if the fan uses a plug-in wiring connector in the downrod. The installation is otherwise the same as a standard-height ceiling. The weight on the ceiling box is the same. The fan just hangs lower.