A mini split that is not cooling is a different diagnostic challenge from a central air conditioner that is not cooling, because the mini split has components and failure modes that central systems do not. The indoor unit has washable filters that must be cleaned every two to four weeks, far more frequently than a central AC filter. The remote control has settings that can disable cooling without being obvious on the display. The outdoor unit may be hidden on a side of the house you never walk past, accumulating debris and losing airflow without anyone noticing. And the inverter-driven compressor, the technology that makes mini splits efficient and quiet, has its own set of failure modes that a conventional compressor does not, shares Cardinal Point Property Management team.
The mini split is a simpler system than a central AC in some ways and more complex in others. It has no ductwork to leak, no dampers to adjust, no multiple zones to balance. It is one indoor unit connected to one outdoor unit. The cooling comes from one place. If that one place is not cooling, the problem is in the indoor unit, the outdoor unit, the refrigerant lines connecting them, or the remote control telling them what to do. The diagnostic order is from the simplest and most likely to the least common: the remote control settings, the indoor filters, the outdoor unit, and then the refrigeration system.
EPA WaterSense encourages regular maintenance of home cooling systems to ensure efficient operation. A mini split that is not cooling wastes electricity and fails to provide the comfort it was designed to deliver.
Cause #1: Remote Control Settings — The Five-Second Fix
The remote control for a mini split has a mode button that cycles through the operating modes: Cool, Heat, Dry, Fan Only, and Auto. If the mode is set to anything other than Cool or Auto, the unit will not produce cold air. Check the mode. Press the Mode button until the display shows a snowflake icon or the word “Cool.” Set the temperature several degrees below the current room temperature. The unit should respond within a minute or two. The indoor fan may start immediately, but the compressor may take a few minutes to ramp up, particularly on an inverter-driven unit that starts slowly to reduce noise and current draw.
Check the timer and sleep functions. A timer can be set to turn the unit off after a certain number of hours. If the timer is active, the unit will shut down on schedule. Cancel any active timers. Check that the unit is not in a power-saving or economy mode that limits cooling output. These modes are designed to reduce energy consumption and may not provide enough cooling on a hot day.
If the remote control display is blank or dim, replace the batteries. A remote with weak batteries may send intermittent signals or no signal at all. The indoor unit has a manual operation button, typically a small button behind the front cover or on the side of the unit, that can be used to test the unit without the remote. Press the manual button. If the unit starts cooling, the remote is the problem.
Cause #2: Dirty Washable Filters — The Most Overlooked Maintenance
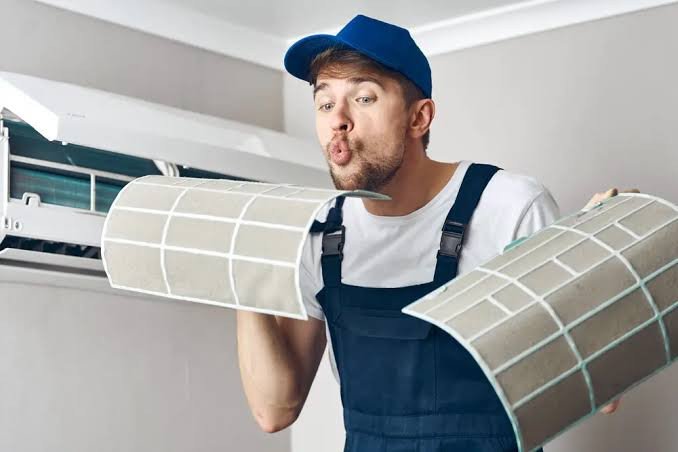
The washable filters in a mini split indoor unit are the most neglected maintenance item in residential HVAC. They are small, hidden behind the front cover, and invisible unless you open the unit and look. A central AC filter is large, conspicuous, and replaced regularly because you see it every time you walk past the return grille. A mini split filter is small and easily forgotten. It clogs with dust and debris within weeks during heavy use. A clogged filter restricts airflow across the evaporator coil. The coil gets too cold. Ice forms. The unit may shut down on a coil temperature sensor or a low-pressure switch. The air coming out of the unit is barely cool because it is passing around a block of ice.
Open the front cover of the indoor unit. Remove the filters. If they are coated with a grey mat of dust, they are the cause of the cooling problem. Rinse them in warm water. Use mild dish soap if they are greasy. Rinse thoroughly. Let them dry completely before reinstalling. If the coil is frozen, turn the unit off and let the ice melt completely before restarting. Clean the filters every two to four weeks during the cooling season. Set a recurring calendar reminder. The filters are the number one cause of mini split cooling problems by a wide margin.
Cause #3: Outdoor Unit Blocked or Not Running
The outdoor unit of a mini split is often installed in a location that is out of sight and out of mind, on the side of the house, behind a bush, under a deck. Leaves, grass clippings, pollen, and debris accumulate on the coil. The coil cannot reject heat. The unit runs but produces little cooling. The outdoor fan may be obstructed by vegetation that has grown up around the unit since it was installed. Trim back vegetation to at least two feet of clearance on all sides. Clean the coil with a garden hose, spraying from the inside out if possible. Turn off power at the disconnect switch before cleaning.
Check that the outdoor unit is actually running. Stand next to it. You should hear the compressor, a low hum, and the fan running. You should feel warm air blowing from the top of the unit. If the outdoor unit is silent while the indoor unit is blowing air, the outdoor unit is not receiving power, the contactor or the inverter board has failed, or the compressor has failed. Check the circuit breaker and the disconnect switch. If both are on and the outdoor unit is silent, call a technician.
Cause #4: Low Refrigerant — The Leak You Cannot See
A mini split does not consume refrigerant. If the charge is low, there is a leak. The symptoms are the same as a central AC with low refrigerant: reduced cooling, long run times, the room not reaching the set point, and possibly ice on the indoor coil. The outdoor unit may run continuously. The compressor may be louder than normal as it works against reduced suction pressure.
Mini split refrigerant leaks most commonly occur at the flare connections, the brass fittings where the refrigerant lines connect to the indoor and outdoor units. The flare connections are made during installation by the technician. If a flare was not properly formed or not properly tightened, it will leak slowly over years. A technician can check the flare connections with an electronic leak detector, tighten them if loose, and recharge the system if the charge is low. The repair is less expensive than a leak in a central AC coil because the flare connections are accessible without disassembling the equipment. The cost is typically $200 to $500. If the leak is in the indoor or outdoor coil, the repair cost is similar to a central AC, $300 to $1,500.
Frequently Asked Questions
Why does my inverter mini split take so long to start cooling?
Inverter-driven mini splits ramp up slowly. The compressor starts at a low speed and gradually increases to the speed needed to meet the cooling demand. The slow start reduces noise, reduces current draw, and extends compressor life. The unit may take 5 to 10 minutes to reach full cooling output. This is normal. If the unit is still not cooling after 20 minutes, there is a problem.
Why is only one of my multi-zone mini splits not cooling?
If you have multiple indoor units connected to one outdoor unit and only one is not cooling, the problem is specific to that indoor unit. Check the filters in the non-cooling unit. Check the remote control settings. Check that the refrigerant lines to that unit are not kinked or damaged. If the filters are clean and the settings are correct, the problem may be a failed electronic expansion valve, an EXV, in the outdoor unit that controls refrigerant flow to that specific zone, or a refrigerant leak in the lines or coil of that zone. This requires a technician.
Why is my mini split cooling when it should be heating, or heating when it should be cooling?
The reversing valve in the outdoor unit may be stuck, or the remote control may be set to the wrong mode. Check the mode on the remote first. If the mode is correct and the unit is producing the opposite of what it should, the reversing valve has likely failed. Cycle the unit between heat and cool several times to try to free the valve. If cycling does not work, call a technician.
The Bottom Line
A mini split that is not cooling is most likely suffering from dirty washable filters, an incorrect remote control setting, a blocked outdoor unit, or a refrigerant leak. Clean the filters first. They are the culprit more than half the time. Check the remote control mode second. Walk outside and check the outdoor unit third. If the filters are clean, the settings are correct, and the outdoor unit is running, but the cooling is still inadequate, call a technician for a refrigerant diagnosis. The mini split is a simple system. The problem is usually simple. Start with the filter. It is always the filter.