The basement wall in front of you is bare concrete. It is gray, cold to the touch, and has been that way since the foundation was poured. Finishing it means turning that concrete into a painted drywall surface that looks like any other wall in the house. The process is a sequence of layers, each with a specific job. Skipping a layer or getting the order wrong traps moisture inside the wall assembly, and the first sign of trouble is a musty smell that appears two years after the paint dries.
A finished basement wall is five layers applied in this exact order: moisture sealing, rigid foam insulation, wood or steel framing, drywall, and paint. Each layer depends on the one before it. This guide covers the complete sequence for a single exterior basement wall, from bare concrete to finished paint.
Layer 1: Moisture Sealing
Concrete is porous. Water vapor moves through it from the damp soil outside to the drier air inside. If that vapor is trapped inside the wall assembly, it condenses, feeds mold, and rots the framing. The first step is confirming the concrete is dry enough to cover.
Tape a 2-foot square of clear plastic sheeting to the bare concrete with duct tape on all four sides. Leave it for 48 hours. If condensation forms under the plastic, the wall is transmitting too much moisture to be finished without exterior waterproofing. If the concrete under the plastic is dry, proceed.
Fill any cracks with hydraulic cement. Apply a masonry waterproofing sealer to the entire wall surface with a roller. This is not a substitute for exterior waterproofing. It is a vapor retarder that slows moisture transmission through the concrete. The sealer must dry completely, typically 2 to 4 hours, before the next layer goes on.
Layer 2: Rigid Foam Insulation
Fiberglass batts are the wrong insulation for a basement wall. Fiberglass is air-permeable. Moisture vapor passes through it, condenses on the cold concrete behind it, and soaks the batt. Wet fiberglass loses its insulating value and becomes a mold substrate.
The correct material is extruded polystyrene rigid foam, minimum 3/4-inch thick, applied directly to the sealed concrete. XPS foam is moisture-resistant and acts as a vapor retarder. It also provides a thermal break between the cold concrete and the warm interior space.
Apply foam-compatible adhesive to the back of each panel in a serpentine pattern. Press the panel firmly against the concrete. Butt the panels tightly together with no gaps. Tape all seams with insulation tape to create a continuous thermal break. In cold climates, building codes typically require R-10 to R-15 on basement walls, which means 2-inch XPS foam. Check your local code.
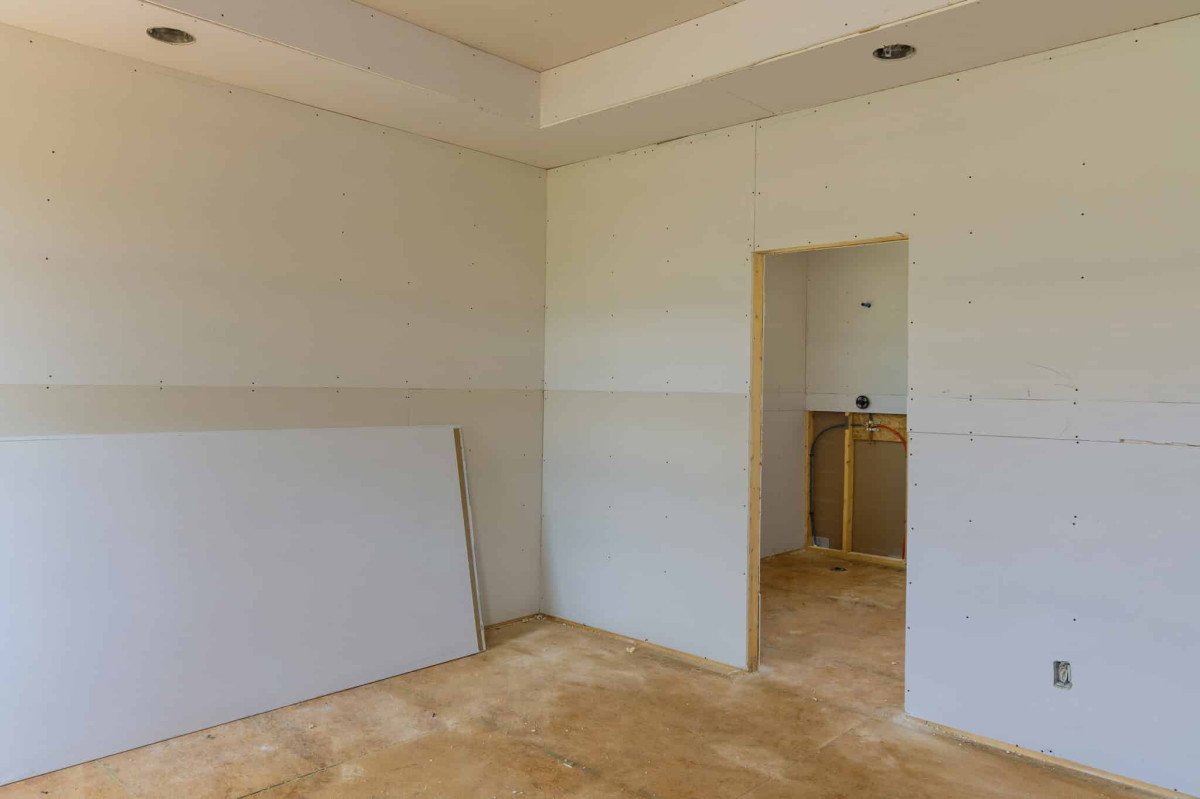
Layer 3: Framing
The framing creates a cavity for electrical wiring and a flat surface for drywall attachment. Standard 2×4 lumber is used, spaced 16 inches on center. The bottom plate must be pressure-treated lumber because it contacts the concrete floor. Standard lumber wicks moisture from concrete and rots from the bottom up.
Anchor the bottom plate to the concrete floor with Tapcon screws or powder-actuated fasteners every 24 to 36 inches. Attach the top plate to the ceiling joists above. Cut each stud individually to the measured distance between the plates at its specific position. Concrete floors are rarely perfectly level. A stud cut to a single measurement will leave gaps at the top or bottom of some positions, and those gaps will crack the drywall.
Leave a 1/2-inch gap between the back of the studs and the face of the foam insulation. This gap provides a drainage and drying plane. If moisture ever gets past the insulation, it can drain down to the floor and evaporate rather than being trapped against the back of the studs.
Layer 4: Drywall
Use moisture-resistant drywall, commonly called green board or purple board, for basement walls. Standard drywall has a paper facing that absorbs moisture from the air and supports mold growth in the higher humidity of a basement. Moisture-resistant drywall has a treated core and facing that resists mold.
Hang the drywall horizontally, which puts the long seams at working height and reduces the number of butt joints. Leave a 1/2-inch gap at the floor. This gap is covered by baseboard and prevents the drywall from wicking moisture from the concrete slab. Screw the drywall to the studs every 8 inches along the edges and every 12 inches in the field.
Tape the seams with paper tape embedded in joint compound. Apply three coats: tape coat, fill coat, and finish coat. Each coat must dry before the next is applied. Sand the final coat smooth. The result is a continuous flat surface ready for paint.
Layer 5: Paint
Prime the drywall with a PVA primer. PVA primer is specifically formulated for new drywall. It seals the paper facing and the joint compound so the finish paint does not absorb unevenly. Apply one coat of primer and let it dry. Apply two coats of interior latex paint. A satin or eggshell sheen is standard for living areas. Semi-gloss is used in bathrooms and utility areas because it resists moisture better.
Install baseboard trim over the gap at the floor. Nail the baseboard to the studs, not to the floor. The floor moves independently of the wall. Nailing baseboard into both creates a crack when the slab shifts seasonally.
The Vapor Barrier Question
Do not install a polyethylene vapor barrier between the framing and the drywall on a basement exterior wall. This is the most common mistake in basement finishing. The rigid foam insulation against the concrete is the vapor retarder. Adding a second vapor barrier on the interior side of the framing traps moisture in the stud cavity. The moisture has nowhere to go. It condenses on the back of the plastic, drips down onto the bottom plate, and rots the framing from the inside. The wall assembly must be able to dry to the interior. The XPS foam slows moisture entry. The interior side must remain permeable so any moisture that does enter can escape into the room air.
What Finishing One Basement Wall Costs
| Layer | Materials (per linear foot of 8-ft wall) |
| Masonry sealer | $0.50-1.00 |
| XPS rigid foam + adhesive + tape | $3.00-6.00 |
| Framing (PT plate, studs, fasteners) | $4.00-8.00 |
| Moisture-resistant drywall + screws + compound | $2.50-5.00 |
| Primer + paint | $1.00-2.00 |
| Total per linear foot | $11.00-22.00 |
| 20-foot wall total | $220-440 |
The materials for a single 20-foot basement wall cost $220 to $440. Labor is the homeowner’s time. The work takes a weekend: sealing and insulation on Saturday morning, framing on Saturday afternoon, drywall hanging on Sunday morning, and taping on Sunday afternoon. The mudding and sanding take an additional two evenings because the joint compound must dry between coats. Painting adds a final evening. A single wall is a manageable weekend-plus-two-evenings project for one person with basic carpentry tools.
Frequently Asked Questions
Can I use steel studs instead of wood?
Yes. Steel studs do not rot, do not support mold, and are dimensionally stable in humidity. They cost about 30 percent more and require tin snips and fine-thread drywall screws instead of a saw and nails. For basements with a history of moisture issues that have since been resolved, steel studs eliminate the lingering worry about hidden wood rot behind the drywall.
Can I use furring strips instead of full 2×4 framing?
Furring strips, which are 1×3 or 1×4 boards attached directly to the concrete through the foam insulation, save about 3 inches of floor space on each wall. They are acceptable for basement walls that will not have electrical wiring, insulation beyond the rigid foam, or plumbing inside the wall cavity. A furred wall provides a surface for drywall attachment but no cavity for utilities. If the wall needs outlets, which most finished basements do, full 2×4 framing is required to provide the depth for electrical boxes.
The Wall That Stays Dry
A finished basement wall is not a single product. It is five layers that work together. The concrete is sealed. The rigid foam insulates and slows moisture. The framing provides structure and a wiring cavity. The drywall creates a smooth paintable surface. The paint protects the drywall from humidity. If any one layer is missing or out of order, the wall assembly fails. If all five are installed correctly and the concrete was dry when the process started, the wall will look and perform exactly like any other wall in the house for decades.