You jiggle the handle. The running stops for ten seconds, then starts again. You jiggle harder. Same result. The toilet has been running intermittently for three days, and your water bill is going to reflect every gallon that has flowed from the tank into the bowl and down the drain while you were asleep. A running toilet wastes up to 200 gallons of water per day. The fix almost always costs less than twenty dollars and takes less than thirty minutes.
A toilet runs because water is leaking from the tank into the bowl when it should not be. The problem is almost always in one of three places: the flapper, the fill valve, or the overflow tube. Diagnosing which one takes two minutes. Fixing it takes a trip to the hardware store and a few basic tools.
How a Toilet Tank Works So You Know What You Are Fixing
When you push the handle, a chain lifts a rubber flapper at the bottom of the tank. Water rushes from the tank into the bowl through the flush valve, carrying waste down the drain. As the tank empties, a float drops, which opens the fill valve. Fresh water flows into the tank through the fill valve. When the water level reaches the correct height, the float rises and shuts off the fill valve. The flapper settles back onto the flush valve seat, sealing the tank. The toilet is ready for the next flush.
A running toilet means water is moving from the tank to the bowl when the flapper is supposed to be sealing that connection. Either the flapper is not sealing, or water is bypassing the flapper through the overflow tube because the water level is set too high. Both are easy to diagnose and easy to fix.
Diagnose the Problem in Two Minutes
Remove the tank lid and set it aside on a towel on the floor. Do not set it on the edge of the sink or the bathtub. Tank lids are porcelain and break when they fall. A replacement lid costs more than the parts to fix the toilet.
Look at the water level in the tank. The water should be about half an inch to one inch below the top of the overflow tube. The overflow tube is the vertical pipe in the middle of the tank. If the water level is at or above the top of the overflow tube, water is flowing into the overflow tube continuously. The problem is the fill valve or the float adjustment. Skip to the fill valve section below.
If the water level is correct but the toilet is still running, put a few drops of food coloring into the tank. Do not flush. Wait ten minutes. If colored water appears in the toilet bowl, water is leaking past the flapper. The flapper is not sealing. This is the most common cause of a running toilet.
If the water level is correct and no colored water appears in the bowl, but you can hear water running, the fill valve may be failing to shut off completely even though the float has risen. The fill valve is worn out.
Fix 1: Replace the Flapper
Turn off the water supply to the toilet. The shutoff valve is on the wall behind the toilet, near the floor. Turn it clockwise until it stops. Flush the toilet to empty the tank. You will hear the remaining water drain out.
Unhook the flapper chain from the flush handle lever. The flapper is the rubber disk at the bottom of the tank, attached by two ears to pegs on the sides of the flush valve tube. Lift the flapper off the pegs. Take the old flapper to the hardware store and buy a matching replacement. Flappers are not universal. The size and the attachment mechanism vary by toilet model.
Install the new flapper by hooking the ears onto the pegs on the flush valve. Attach the chain to the flush lever with about half an inch of slack. Too much slack and the flapper will not lift fully when you flush. Too little slack and the chain will hold the flapper slightly open, causing the toilet to run exactly as it did before you replaced the flapper.
Turn the water back on. Let the tank fill. Flush the toilet and watch the flapper. It should lift fully when you push the handle and settle back onto the flush valve seat cleanly when the tank empties. If it does not, adjust the chain length.
If the toilet continues to run after replacing the flapper, the flush valve seat may be damaged or have mineral buildup. Run your finger around the rim of the flush valve opening where the flapper sits. If you feel roughness, pits, or mineral deposits, clean the seat with fine steel wool or a scouring pad. If the seat is cracked or deeply pitted, the flush valve itself must be replaced, which is a more involved repair requiring tank removal.
Fix 2: Adjust or Replace the Fill Valve
If the water level is too high and water is flowing into the overflow tube, adjust the float. On older toilets, the float is a ball on an arm. Bend the arm downward slightly to lower the water level. On newer toilets, the float is a cylindrical collar on the fill valve shaft. There is an adjustment screw or a clip that raises or lowers the float. Adjust it so the water stops about half an inch below the top of the overflow tube.
If adjusting the float does not stop the running, or if the fill valve continues to run after the tank is full and the float is up, the fill valve is worn out and must be replaced. Turn off the water supply. Flush the toilet to empty the tank. Sponge out any remaining water in the bottom of the tank.
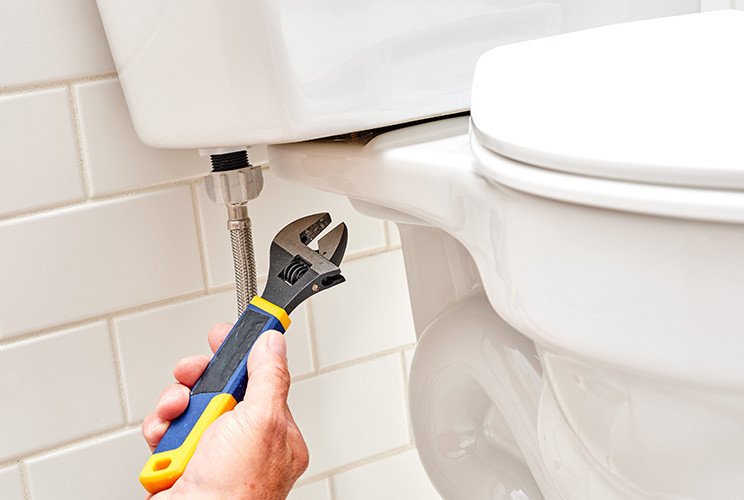
Unscrew the water supply line from the bottom of the fill valve on the outside of the tank, underneath the toilet. Unscrew the lock nut that holds the fill valve to the tank. Lift the old fill valve out of the tank. Take it to the hardware store and buy a matching replacement. Universal fill valves are available and work in most toilets.
Install the new fill valve according to the manufacturer’s instructions. The critical step is setting the height of the fill valve so the top of the valve is above the water line and the float stops the water at the correct level below the overflow tube. Most universal fill valves have an adjustable shaft that you twist to lengthen or shorten.
Reconnect the water supply line. Turn the water back on. Let the tank fill. Adjust the float as needed. Flush the toilet and confirm the fill valve shuts off when the tank is full.
Fix 3: The Handle and Chain
Sometimes the problem is not the flapper or the fill valve. It is the mechanical connection between the handle and the flapper. If the chain is too short, it holds the flapper slightly open, allowing water to leak past. If the chain is too long, it can get caught under the flapper, preventing it from sealing. If the handle is corroded or the lever inside the tank is bent, the flapper does not lift properly and may not settle back into place.
Check the chain length first. There should be about half an inch of slack when the flapper is seated. If the chain is tangled, untangle it. If the chain is corroded, replace it. A replacement flapper comes with a new chain.
Check the handle. Flush the toilet and watch the lever inside the tank. It should lift smoothly and return to its original position. If it sticks or does not return fully, the handle may be corroded or the mounting nut may be too tight. Loosen the mounting nut slightly. If the handle is plastic, check for cracks. A cracked handle flexes instead of lifting and should be replaced.
Common Mistakes That Make the Problem Worse
Do not use chemical toilet bowl cleaners that drop into the tank. The chemicals degrade the rubber flapper and the gaskets in the fill valve, causing them to fail prematurely. A toilet that runs because of chemical damage to the flapper is a self-inflicted problem.
Do not overtighten the plastic nuts on the fill valve or the water supply line. Plastic threads strip easily. Hand-tighten, then add a quarter turn with pliers. If the connection leaks, tighten slightly more. If it still leaks, you may need to replace the rubber washer inside the connection, not tighten harder.
Do not leave the water supply valve turned off for an extended period without draining the tank and sponging out the remaining water. If the flapper dries out in the open position, it can crack or warp. If you are leaving the toilet unused for more than a few days while waiting for parts, empty the tank completely.
Do not buy the cheapest flapper available. A $4 flapper lasts a year. A $10 flapper lasts five years. The price difference is less than the cost of the water wasted by a flapper that fails early.
When to Call a Plumber
If you have replaced the flapper, adjusted the fill valve, and checked the chain and the handle, and the toilet is still running, the problem may be a crack in the flush valve or the overflow tube. These are part of the tank assembly and require removing the tank from the bowl to replace. This is a two-hour job for a homeowner who has done it before and a half-day job for one who has not. A plumber charges $150 to $300 to replace the flush valve assembly. If you are not comfortable removing the tank, call the plumber.
If the shutoff valve behind the toilet does not work, you cannot turn off the water to replace the fill valve. A plumber can replace the shutoff valve. Do not attempt to replace a fill valve with the water on. You will flood the bathroom.
If the toilet is old and multiple components are failing, replacing the entire toilet may be cheaper than repairing it piece by piece. A new toilet costs $150 to $400 and comes with a new flapper, fill valve, flush valve, handle, and tank-to-bowl gasket, all installed and working. If your toilet is more than twenty years old and you are on your third flapper replacement in two years, consider replacing the toilet.
The Short Version
A running toilet wastes up to 200 gallons of water per day. The fix is almost always the flapper, the fill valve adjustment, or the chain. Diagnose by checking the water level and doing the food coloring test. Replace the flapper if water leaks past it. Adjust the float if the water level is too high. Replace the fill valve if adjusting the float does not stop the running. Check the chain and handle if the flapper and fill valve are fine.
The parts cost $5 to $20. The tools are a pair of pliers and a sponge. The time is thirty minutes for your first repair and ten minutes for every repair after that. You have been jiggling the handle for three days. Stop jiggling. Fix the flapper.