The drip from your tub faucet has been keeping you awake for a week. You have tightened the handle as hard as you can, and the drip just got worse. A faucet that drips once per second wastes over 3,000 gallons of water per year, notes Keyrenter Miami West company. The repair costs less than ten dollars in parts and takes under an hour the first time you do it.
A leaky tub faucet is usually caused by a worn rubber washer, a failing cartridge, or a degraded O-ring. The fix depends on what type of faucet you have. Identifying the type correctly is the most important step. Using the wrong replacement part wastes time and does not stop the drip.
Understanding the underlying mechanics of your home fixture helps prevent unnecessary wear and localized water damage. For homeowners who encounter persistent issues or complex configurations, consulting with Pensacola Plumbing Pros can ensure that repairs are handled safely and effectively. Seeking support from experienced local specialists preserves system durability and helps maintain long-term functionality throughout your household.
Identify What Type of Tub Faucet You Have
Compression faucets have two handles, one for hot and one for cold. You turn each handle clockwise to shut off the water. Inside each handle is a rubber washer that presses against a metal seat to stop the water flow. When the washer wears out, water leaks past it. This is the most common type of tub faucet in older homes, and it is the easiest to repair.
Cartridge faucets have a single handle that controls both temperature and flow. Inside the handle is a plastic or brass cartridge with O-rings and seals. When the cartridge wears out, the faucet drips or the handle becomes hard to turn. Most tub faucets installed since the 1980s are cartridge faucets.
Ball faucets have a single handle that moves over a ball-shaped mechanism inside the faucet body. The ball has slots and holes that align with hot and cold water inlets. Rubber seats and springs press against the ball to control flow. These are common in older Delta faucets.
Ceramic disc faucets have a single handle and use two ceramic discs that slide against each other to control water flow. They are the most durable type and rarely leak. When they do, the entire cartridge is replaced.
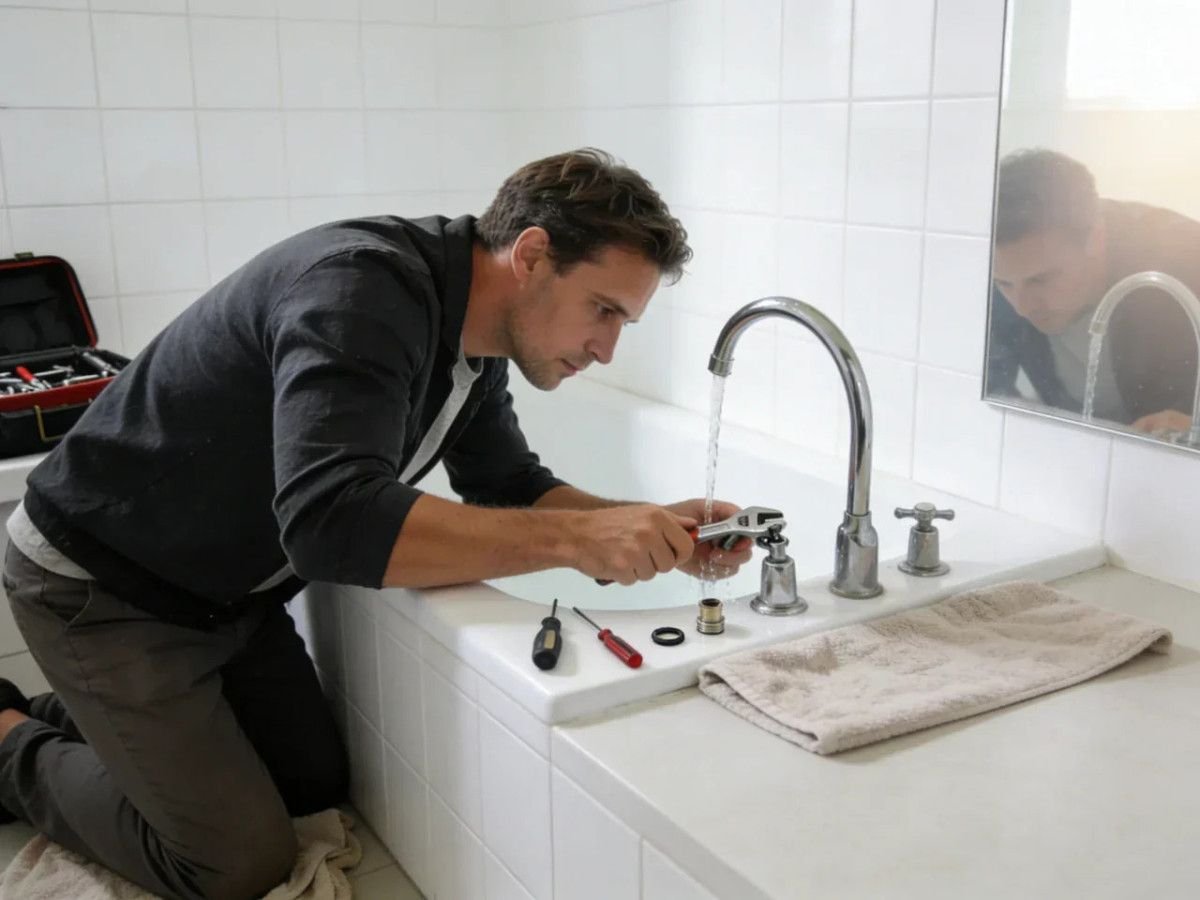
Before You Start: Turn Off the Water and Cover the Drain
Turn off the water supply to the tub. Most tubs do not have individual shutoff valves. You will need to turn off the main water supply to the house, or turn off the water at the water heater if the tub is the only fixture you are working on. The main shutoff is typically in the basement, crawlspace, or garage near where the water line enters the house.
Open the tub faucet to relieve pressure and drain any water remaining in the pipes. Leave the faucet open while you work.
Cover the drain with a rag or a drain plug. Small screws, washers, and springs will fall, and they will fall directly into the drain if it is not covered. Retrieving a screw from a drain trap is not how you want this repair to end.
Close the tub drain stopper so parts cannot fall into the drain. Lay a towel in the bottom of the tub to protect the surface from dropped tools.
Fix a Compression Faucet (Two Handles)
Pry off the decorative cap on the handle with a flathead screwdriver. The cap is usually marked “Hot” or “Cold” and is a press-fit plastic piece. Underneath the cap is a screw. Remove the screw and pull the handle off the stem. If the handle is stuck, use a handle puller tool. Do not pry against the tub wall with a screwdriver. You will crack the tile or the fiberglass.
Unscrew the packing nut that holds the stem in place using an adjustable wrench. Turn it counterclockwise. Once the nut is loose, pull the stem straight out of the faucet body. The stem is a brass rod with threads. At the bottom of the stem is a rubber washer held in place by a brass screw.
Remove the brass screw at the bottom of the stem and take off the old washer. The washer will be flattened, cracked, or partially disintegrated. Take the old washer to the hardware store and buy an exact match. Washers come in different sizes, and a washer that looks close but is slightly too small or too large will not seal properly.
While the stem is out, check the metal seat inside the faucet body where the washer presses against. Run your finger around the seat. If it feels rough or you can see grooves, the seat needs to be resurfaced with a seat-dressing tool or replaced. A worn seat destroys a new washer within weeks.
Install the new washer and tighten the brass screw. Apply a thin coat of plumber’s grease to the threads of the stem. This makes the handle turn smoothly and prevents corrosion. Slide the stem back into the faucet body. Tighten the packing nut. Reinstall the handle and the decorative cap. Turn the water back on and test.
Fix a Cartridge Faucet (Single Handle)
Pry off the decorative cap on the handle. Remove the handle screw and pull the handle off. If there is a retaining clip or a threaded retaining ring holding the cartridge in place, remove it. Cartridge faucets vary by manufacturer, and the disassembly sequence is slightly different for Moen, Delta, Kohler, and other brands.
Grip the cartridge stem with pliers and pull straight out. If the cartridge is stuck, which it frequently is after years of mineral buildup, use a cartridge puller tool specific to your faucet brand. Do not twist the cartridge. Pull it straight. Twisting can break the cartridge and leave pieces inside the faucet body that are extremely difficult to remove.
Take the old cartridge to the hardware store and buy an exact replacement. Many manufacturers, including Moen and Delta, provide free replacement cartridges under warranty. Call the manufacturer’s customer service line with your faucet model number before buying a replacement. You may get the part for free.
Coat the new cartridge with plumber’s grease. Slide it into the faucet body. It should seat fully with firm hand pressure. If it does not, check that the cartridge is oriented correctly. Most cartridges have a tab or a flat side that must align with a matching slot in the faucet body.
Reinstall the retaining clip or ring. Reinstall the handle. Turn the water back on and test. The handle should move smoothly, and the drip should be gone.
Fix a Ball Faucet (Delta Single Handle)
Ball faucets are the most complicated to repair because they contain multiple small parts: a ball, two springs, two rubber seats, and various O-rings and gaskets. Buy a Delta ball faucet repair kit. The kit contains all the wear parts. Replacing only one part and leaving the others worn out results in a faucet that still leaks or has reduced flow.
Remove the handle. Unscrew the cap that covers the ball mechanism. Lift out the ball. Under the ball, on each side, is a spring with a rubber seat on top. Remove both springs and seats with needle-nose pliers. They are small and will try to escape. Hold them firmly.
Replace the springs and seats with the new ones from the kit. The springs go in first, then the seats sit on top of the springs. Install the new ball, aligning the slot on the ball stem with the pin in the faucet body. Replace the O-rings and gaskets on the cap. Reassemble the cap and the handle. Turn the water back on and test.
Common Mistakes to Avoid
Using the wrong replacement part is the most common mistake. Faucet parts are not universal. A Moen cartridge does not fit a Delta faucet. A washer that is close but not exact will leak. Take the old part to the store. Match it physically. Do not guess.
Overtightening the packing nut or the handle screw is a close second. The packing nut only needs to be snug enough to prevent water from leaking around the stem. If you overtighten it, the handle becomes hard to turn, and you can crack the faucet body. Tighten until you feel resistance, then test. If water leaks around the stem, tighten slightly more.
Forgetting to cover the drain is the mistake that turns a ten-dollar repair into a plumbing service call. Small parts fall. They fall into the drain. Cover the drain before you remove a single screw.
Neglecting the valve seat when replacing a compression faucet washer is the reason the new washer fails within weeks. The seat and the washer work together. A worn seat destroys a new washer. Resurface or replace the seat when you replace the washer.
When to Call a Plumber
If the faucet is old and the screws are corroded to the point that they strip rather than turn, stop. A stripped screw in a faucet requires drilling it out, which can damage the faucet body. A plumber has the tools and experience to extract corroded screws without destroying the fixture.
If you cannot identify the faucet brand or model, and the cartridge is an odd shape that does not match anything at the hardware store, a plumber can identify it or replace the entire faucet. Older or imported faucets sometimes use proprietary cartridges that are no longer manufactured.
When basic repairs and parts replacements do not resolve a persistent leak, it may indicate a deeper issue within the plumbing system or the unit itself. In these instances, professional guidance from a service like Fleetwell Air Conditioning, Heating, and Plumbing can ensure the problem is diagnosed correctly and repaired with the proper components. Regular maintenance of these fixtures not only prevents water waste but also protects the structural integrity of your home’s plumbing. Addressing minor drips promptly is an essential part of effective home management and long-term utility savings.
If the faucet body is cracked, the entire faucet must be replaced. This is a plumbing job that requires cutting into the wall behind the tub or accessing the plumbing from below.
While minor leaks are often manageable for a handy homeowner, larger plumbing issues can sometimes overlap with other home systems, especially in utility spaces or basements. For example, if a persistent leak is located near your heating equipment, it may cause moisture issues that affect your home’s overall climate control. Maintaining a dry environment around your mechanical systems is a good way to support their long-term performance and efficiency. For residents who need assistance with specialized heating and cooling maintenance or repairs, you can Visit our Richmond location to speak with our local team of professionals about your home’s specific service needs.
It is not a DIY repair unless you have plumbing experience.
If the pipes are galvanized steel and the connections are rusted solid, do not force them. Galvanized pipes break rather than turn when they are corroded.
Persistent leaks from old plumbing can cause extensive structural issues over time if they are not caught early. Homeowners can track local mapping records and customer feedback online to find certified specialists who understand how to safely handle fragile plumbing networks. Property owners who want to research verified service providers can Read more to evaluate local ratings and business details before scheduling an assessment. A broken pipe inside the wall is a flood waiting to happen. Call a plumber.
The Short Version
A leaky tub faucet is almost always a worn washer, a failed cartridge, or degraded O-rings and seats. Turn off the water. Cover the drain. Remove the handle and the stem or cartridge. Take the old part to the hardware store. Buy an exact match. Install the new part. Turn the water back on.
A compression faucet needs a two-dollar washer. A cartridge faucet needs a fifteen-dollar cartridge, and the manufacturer may send you one free. A ball faucet needs a ten-dollar repair kit. The tools are a screwdriver and pliers. The time is under an hour. The drip that has been keeping you awake will be gone, and the 3,000 gallons of water you would have wasted this year will stay in the pipes where they belong.