The toilet handle snapped off in your hand this morning. You have been reaching into the tank to lift the flapper by hand for three days, and you are tired of touching toilet tank water every time someone needs to flush. Replacing a toilet handle costs between five and twenty dollars and takes ten minutes. It requires no plumbing knowledge, no tools beyond your fingers or a pair of pliers, and no trip inside the tank beyond unhooking a chain and hooking it back on, reports the Keyrenter Jacksonville Team.
A toilet handle fails in one of three ways. The plastic or metal lever arm inside the tank snaps from metal fatigue. The handle itself cracks or breaks off. Or the mounting nut inside the tank loosens over time, and the handle wobbles without actually breaking. In all three cases, the fix is the same: remove the old handle, install a new one, and reconnect the flapper chain.
Buy the Right Handle Before You Start
Toilet handles are not universal, but they are close. Most toilets use a standard front-mount handle positioned on the front of the tank. Some use a side-mount handle on the left or right side of the tank. A few use a push-button flush mechanism on top of the tank lid. Match the mounting location when you buy the replacement.
Handles are either front-mount or side-mount, and the lever arm points either left or right depending on which side of the tank the handle is on. A universal replacement handle is adjustable and can be configured for front-mount or side-mount installation with the lever arm pointing either direction. A universal handle costs $8 to $15 and works in virtually every toilet made in the last fifty years. If you are unsure what kind of handle you need, buy a universal one.
Brand-specific handles are available for Kohler, Toto, American Standard, and other major brands. These match the original handle in style and finish. They cost $15 to $30. The finish options include chrome, brushed nickel, oil-rubbed bronze, and matte black. Match the finish to your existing bathroom hardware for a consistent look.
If you want the handle to match the rest of the bathroom fixtures, buy a brand-specific handle in the correct finish. If you want the toilet to flush, buy a universal handle. Both work. One looks better.
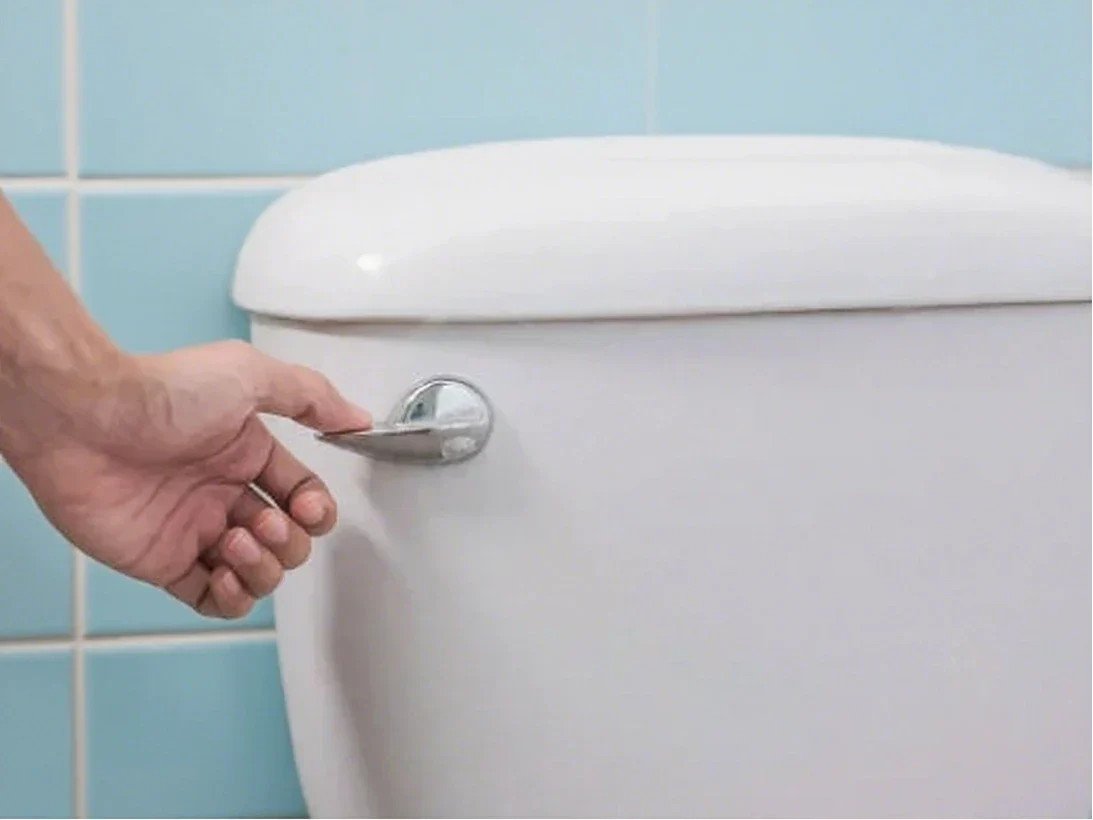
Toilet handles come in two operating styles. A front-mount handle is pushed down to flush, and the lever arm inside the tank lifts up. This is the most common style and what most people expect when they reach for a toilet handle.
A side-mount handle is pushed forward or pulled toward you to flush. Side-mount handles were common on older toilets and are still used on some compact and corner models. A universal handle can be configured for either orientation.
The lever arm inside the tank is either metal or plastic. Metal arms last longer.
Plastic arms are common on universal handles and work fine but can eventually snap, which is likely why you are replacing the handle in the first place. If your old handle had a plastic arm that broke, consider buying a metal-arm replacement this time. The extra three dollars buys years of additional service life.
The handle nut is reverse-threaded for a reason. When you push the handle down, the rotational force tries to loosen a standard right-hand thread. A reverse-threaded nut tightens under that same force. Every time you flush, you are tightening the nut slightly rather than loosening it.
This is clever engineering that has been standard on toilets for decades. It is also the reason most people initially turn the nut the wrong way when trying to remove it. Remember: clockwise to loosen, counterclockwise to tighten.
Remove the Old Handle
Remove the tank lid and set it aside on a folded towel on the floor. Do not place the lid on the edge of the sink or the tub. Tank lids are porcelain and break when dropped.
Look inside the tank at the back of the handle assembly. The handle is held in place by a plastic or metal nut threaded onto the handle shaft on the inside of the tank wall. This nut is typically reverse-threaded, meaning you turn it clockwise to loosen and counterclockwise to tighten, which is the opposite of a standard nut. The reverse threading prevents the handle from loosening as you push the handle down to flush.
Grip the mounting nut with pliers and turn it clockwise to loosen. If the nut is plastic, do not squeeze too hard. Plastic nuts crack under excessive force. Once the nut is loose, unscrew it by hand. Pull the old handle out from the outside of the tank. The handle assembly consists of the handle, the shaft, and the lever arm inside the tank. All three come out together.
Unhook the flapper chain from the old lever arm. The chain is attached to one of the holes in the lever arm by a small clip or hook. Unclip it. Do not drop the chain into the tank. If you drop it, fish it out before installing the new handle. A chain at the bottom of the tank can get caught under the flapper and cause the toilet to run.
Install the New Handle
If the new handle is a universal model, adjust the lever arm length and direction before installing it. Universal handles have an adjustable arm that slides to lengthen or shorten, and the arm can be rotated to point left or right. Set the arm so it aligns with the flapper chain when the handle is in the installed position. The lever arm should extend to a point directly above the flapper chain attachment point.
Insert the new handle shaft through the mounting hole from the outside of the tank. The handle should be oriented so you push it down or pull it forward to flush, whichever matches the handle’s design. Most handles are pushed down. Some lever-style handles are pulled forward.
Thread the mounting nut onto the handle shaft from inside the tank. Remember that the nut is reverse-threaded. Turn it counterclockwise to tighten. Hand-tighten until the nut is snug against the inside of the tank wall. Do not use pliers for the final tightening. Overtightening cracks the porcelain tank, and a cracked tank cannot be repaired. If the handle feels loose after hand-tightening, hold the nut with pliers to prevent it from turning and tighten the handle a quarter turn from the outside.
Attach the flapper chain to the new lever arm. The chain should hook into one of the holes in the lever arm. Most lever arms have three to five holes. Use the hole that gives approximately half an inch of slack in the chain when the flapper is seated and the handle is not being pushed. Too much slack means the handle must travel a long distance before the flapper begins to lift, resulting in a weak flush. Too little slack means the chain holds the flapper slightly open, causing the toilet to run continuously.
Test the chain adjustment. Push the handle. The flapper should lift fully before the handle reaches the end of its travel. Release the handle. The flapper should drop back onto the flush valve seat cleanly, with the chain hanging loose with a small amount of slack. If the chain is too long, move the clip to a hole closer to the handle shaft. If the chain is too short, move the clip to a hole farther from the shaft. If none of the holes give the right length, you can shorten the chain by hooking a different link onto the clip, or lengthen it by adding links or replacing the chain.
Replace the tank lid. Flush the toilet and watch the handle operation. The handle should move smoothly, the flapper should lift fully, and the flapper should reseat cleanly. The toilet should not run after the tank refills.
Common Problems After Handle Replacement
The handle sticks and does not return to its original position after flushing. The mounting nut is too tight. Loosen it slightly. The handle shaft should rotate freely in the mounting hole.
The handle is loose and wobbles. The mounting nut is not tight enough, or the handle shaft is smaller than the mounting hole. Some universal handles come with a plastic bushing that fills the gap between the shaft and an oversized hole. If your new handle is loose and no bushing was included, wrap a few turns of plumber’s tape around the handle shaft before inserting it into the hole. The tape fills the gap and prevents wobbling.
The toilet runs after installing the new handle because the chain is too short. The chain is holding the flapper slightly open. Move the chain to a hole farther from the handle shaft to add slack.
The flush is weak because the chain is too long. The handle travels most of its range before the chain tightens and starts lifting the flapper. Move the chain to a hole closer to the handle shaft to reduce slack.
The handle rotates too far and hits the tank lid. Some universal handles have an adjustable stop that limits the handle travel. If yours does not, and the handle is rotating far enough to strike the lid, adjust the chain so the flapper lifts fully with less handle travel, or replace the handle with a model that has a built-in stop.
The Short Version
Remove the tank lid. Unhook the flapper chain from the old lever arm. Turn the mounting nut clockwise to loosen it. Pull the old handle out. Insert the new handle. Tighten the mounting nut counterclockwise by hand. Attach the chain with half an inch of slack. Test the flush. Replace the lid.
A universal handle costs $8 to $15. A brand-specific handle in a matching finish costs $15 to $30. The tools are your fingers and maybe a pair of pliers. The time is ten minutes. You have been reaching into the tank to flush for three days. Stop reaching. Install the new handle.