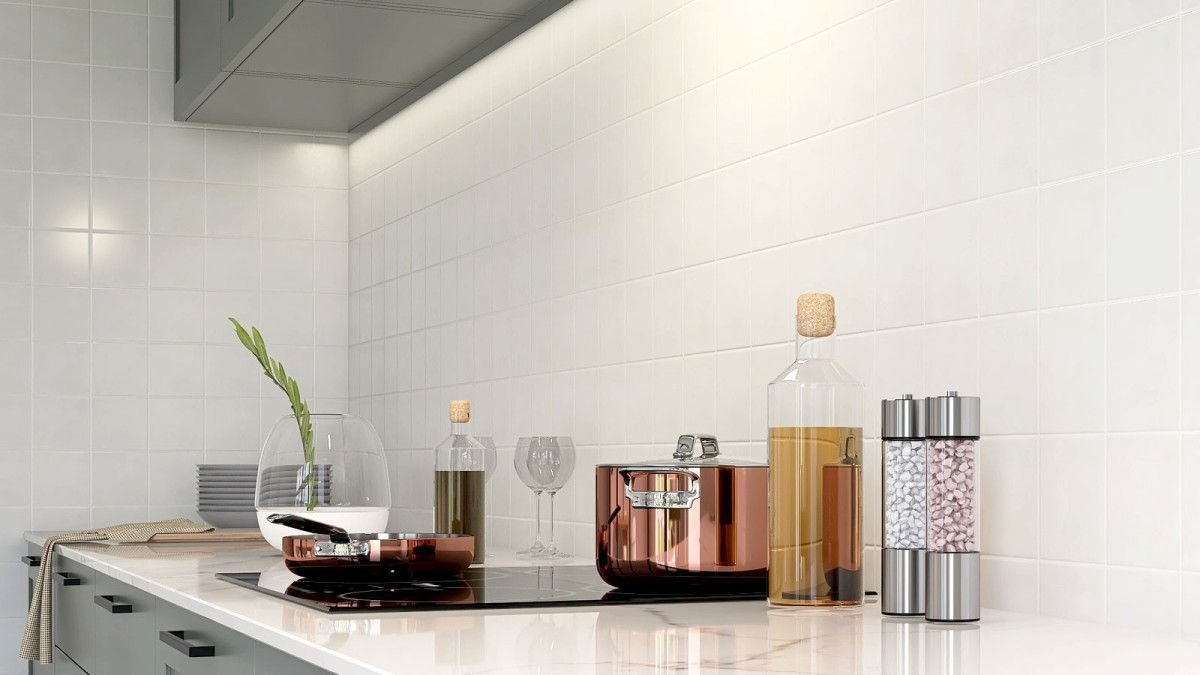
The two feet of wall between the kitchen counter and the upper cabinets is the most visible surface in the room that no one thinks about until it is covered in spaghetti sauce splatter or peeling wallpaper. A tile backsplash fixes both problems, and tile sheets, mosaic tiles pre-mounted on a mesh backing in twelve-inch-by-twelve-inch squares, make the installation fast enough to finish in a weekend. You are not placing individual one-inch tiles. You are placing sheets of tiles, and the sheet aligns the tiles for you. The skill is in making the seams between sheets disappear into the pattern so the finished backsplash looks like one continuous surface instead of a grid of twelve-inch squares.
Installing backsplash tile sheets is the best first tile project for a homeowner who has never set tile before. The surface is small, typically thirty to forty square feet. The substrate is almost always drywall, which requires no backer board for a backsplash because it is not a wet area. The tiles are small, lightweight, and easy to cut. The consequences of a mistake are cosmetic and easily hidden behind the toaster. If you can spread peanut butter evenly on bread, you have the fine motor skills required to spread thinset for a backsplash. The rest is patience and a level.
Surface Prep and Layout — The Two Hours That Make the Rest of the Job Easy
Turn off power to the kitchen outlets at the breaker panel and remove the outlet covers. If you have existing tile or a thick backsplash material, remove it down to the drywall. If the drywall is damaged, replace the damaged sections or skim-coat the surface with joint compound and sand it smooth. Clean the wall with a degreaser, especially near the stove where cooking grease builds up. Thinset will not bond to grease. The tiles will fall off the wall, possibly immediately, possibly a month later when you are running the dishwasher and the vibration shakes them loose. Clean the wall thoroughly. Wipe it dry. The surface should be clean, smooth, and free of loose paint or paper.
Dry-lay the sheets on the countertop against the wall before mixing any thinset. Start at the center of the most visible wall, usually the wall behind the stove or the sink, and work outward toward the corners. The goal is for the cuts at both ends to be roughly equal in width. If the wall is one hundred and twenty inches wide and the sheets are twelve inches, you have ten full sheets and no cuts. If the wall is one hundred and fourteen inches wide, you have nine full sheets and a six-inch cut at each end, which looks balanced. If you start at one end, you will have a full sheet at the starting end and a six-inch strip at the other end, which looks like a mistake. The center-out layout hides the asymmetry in the corners.
Mark a level horizontal line one sheet height above the countertop. Mark a vertical center line on the focal wall. These two lines are your reference grid. Every sheet is aligned to these lines, and every adjustment is measured from these lines. A backsplash that is installed by eye drifts by the time it reaches the cabinets. A backsplash installed to a level line stays level.
Cutting the Sheets and Setting the Tile
Cut the mesh backing with a utility knife to separate sheets or to cut partial sheets. For individual tiles within a sheet that need to be shaped around an outlet or a window trim, use tile nippers to nibble away small pieces or a wet saw for straight cuts. The mesh holds the tiles in place, but you can also peel individual tiles off the mesh and set them by hand in tight spaces where the full sheet will not fit. Around an outlet box, cut the mesh to fit around the box, remove individual tiles as needed to clear the opening, and fill in the gaps with individual tiles set by hand after the sheet is in place.
Mix a small batch of thinset, about the amount that fits in a one-gallon bucket. For a backsplash, use mastic instead of cement-based thinset if the tile manufacturer allows it. Mastic is premixed, spreads like butter, grabs the tile immediately, and does not require slaking or mixing. It is also more expensive and cannot be used in wet areas or with glass tile that requires a white polymer-modified thinset to prevent the mastic from showing through. Read the tile manufacturer’s recommendations before choosing the adhesive.
Spread the adhesive on the wall with the flat side of a quarter-inch notched trowel to key it into the surface, then comb it with the notched side at a forty-five-degree angle. Spread only as much as you can cover in ten to fifteen minutes. Press the sheet into the adhesive with the palms of both hands, applying even pressure across the entire sheet. Do not press with your fingertips. Fingertip pressure creates indentations where the tile sinks deeper into the adhesive, producing a wavy surface. Use a grout float or a flat piece of wood to press the entire sheet evenly. Check the alignment of the sheet against the level line and the center line. Adjust immediately while the adhesive is still wet.
Align the seams between sheets carefully. The gap between sheets must match the gap between tiles within the sheet. If the tiles within the sheet are spaced an eighth of an inch apart, the seam between sheets must also be an eighth of an inch. A seam that is wider or narrower than the internal gaps will be visible through the grout. Use tile spacers between sheets if the mesh does not have built-in spacing lugs. Check every seam as you go. A misaligned seam fixed thirty seconds after the sheet is set costs nothing. A misaligned seam discovered after the adhesive has cured costs a sheet of tile and an hour of scraping.
Grouting, Sealing, and the Final Details
Wait at least twenty-four hours for the adhesive to cure before grouting. For a kitchen backsplash with narrow grout joints, unsanded grout is typically the right choice. Sanded grout is for joints wider than an eighth of an inch. Epoxy grout is the premium option for a backsplash behind a stove because it resists staining from cooking oil and tomato sauce, but it sets faster and requires more aggressive cleanup. A first-timer installing a backsplash should use unsanded cement-based grout. It is forgiving, easy to clean, and perfectly adequate for a surface that gets wiped down, not submerged.
Spread the grout with a rubber float held at a forty-five-degree angle, forcing it into the joints with a sweeping motion. Remove excess grout from the tile faces with the edge of the float held at a steeper angle. Wait until the grout firms up, about fifteen to twenty minutes, then wipe the tile faces with a damp sponge, rinsing the sponge frequently in clean water. Do not overwet the sponge. Excess water weakens the grout in the joints. After the grout has cured for an hour or two, a light haze will remain on the tile faces. Buff it off with a dry microfiber cloth.
If the tile is natural stone, apply a penetrating sealer after the grout has cured for forty-eight to seventy-two hours. Ceramic and porcelain tile do not need sealing, but the grout does. Apply grout sealer with a small foam brush or an applicator bottle, wipe any sealer that gets on the tile faces, and let it cure. Reapply grout sealer every one to two years, especially behind the stove. Reinstall the outlet covers, using box extenders if the new tile thickness causes the outlets to sit recessed behind the cover plate. A recessed outlet is a fire hazard because a loose plug can arc.
FAQ — Backsplash Tile Sheets
Do I need cement backer board behind a kitchen backsplash?
No. A kitchen backsplash is not a wet area. It gets splashed and wiped dry. Drywall in good condition, primed and degreased, is an acceptable substrate for a backsplash. If the drywall is damaged, replace the damaged section or cover it with quarter-inch backer board, but replacing entire sheets of drywall with cement board is unnecessary for this application. The thinset or mastic bonds perfectly well to clean, primed drywall.
How do I cut the tile sheets around electrical outlets?
Hold the sheet in position over the outlet box and mark the edges of the box on the tile with a pencil. Remove individual tiles from the mesh within the marked area using a utility knife to cut the mesh from behind. Cut any tiles that overlap the box using tile nippers or a wet saw. The edges of the cut will be hidden by the outlet cover, so the cuts do not need to be perfect. The outlet cover extends about half an inch beyond the outlet box on all sides, which hides roughly cut tile edges. Replace the short outlet screws with longer screws to account for the tile thickness.
Should the bottom row of tile sit directly on the countertop?
Leave a gap of an eighth of an inch between the bottom row of tile and the countertop. Fill this gap with a bead of color-matched silicone caulk, not grout. The countertop and the wall expand and contract at different rates with temperature and humidity changes. Grout in this joint will crack. Caulk will flex. The caulk line also prevents water from seeping behind the tile at the countertop joint. Run a bead of caulk along the bottom edge, along the top edge where the tile meets the cabinets, and in the corners where two tiled walls meet. Grout every other joint. Caulk every change of plane.